
I have been busy crafting up a storm for the wedding but I wanted to take a minute to share my How-To Pallet Sign we used for our engagement photos for our Save the Date cards.
First, we made our own pallet sign using cedar that was 4” tall and 1” thick.
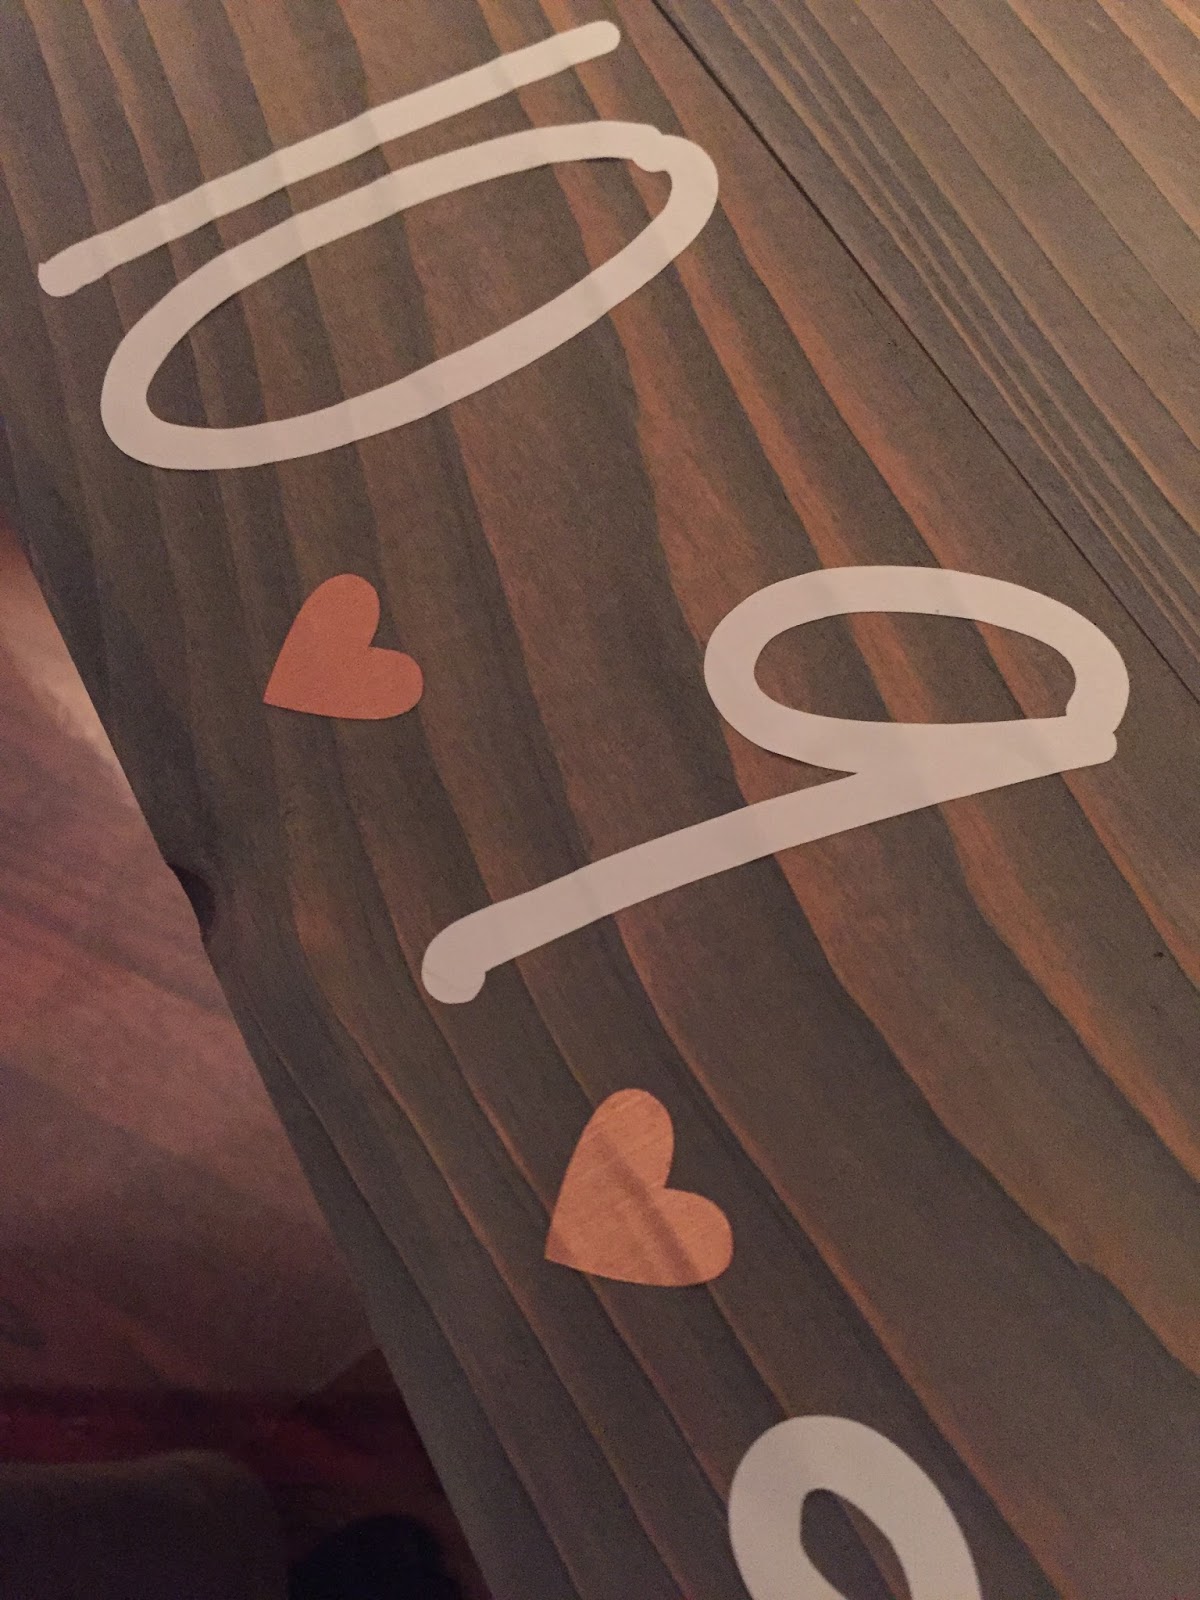
I knew the sign would have 4 lines of text, so the finished pallet was about 16”
x 16”. We secured the 4 pieces of wood together with glue and 2 vertical pieces of wood on the back.

I wanted to sign to coordinate with our wedding colors (rose
pink & grey) so I stained the pallet a medium grey. I used a grey craft
paint and diluted it with water, then using a cloth I rubbed the stain onto the
pallet. This allows the wood grain to show through.

I used my Cricut to cut the words out of white permanent
adhesive vinyl. Then I used transfer tape to adhere the words onto the pallet. (I
used some rose pink vinyl for the hearts!)

The sign was perfect for our engagement photos! Our photographer, Jennifer with Just Be PhotoJennic, is AMAZING and I absolutely love how our pictures came out.

Only 96 more days until we are #SKOOTingDownTheAisle!
No comments:
Post a Comment