Wednesday, August 30, 2017

Wedding Pallet Sign


For our wedding last year, I wanted to create something to let people know the day of agenda, but I didn't want to make programs that people would end up throwing away.

I also wanted to create a sign to put near the entrance so people would know they were in the right place for our wedding.

So, I decided to create a large pallet sign to solve both of these needs.

Using the same idea as the small pallet sign I made for our engagement photos, I had my dad build a large sign using 4" cedar boards. The final sign ended up being 7 boards tall.

We used grey stain to paint the sign to keep it consistent with our wedding colors.

Based on the size I created my design. I knew I wanted to include times for the ceremony, dinner, dancing, cake and fireworks.

I put our initials at the top followed by lyrics from our 1st dance song. And to fill the remaining space I used a cute lovebird graphic.

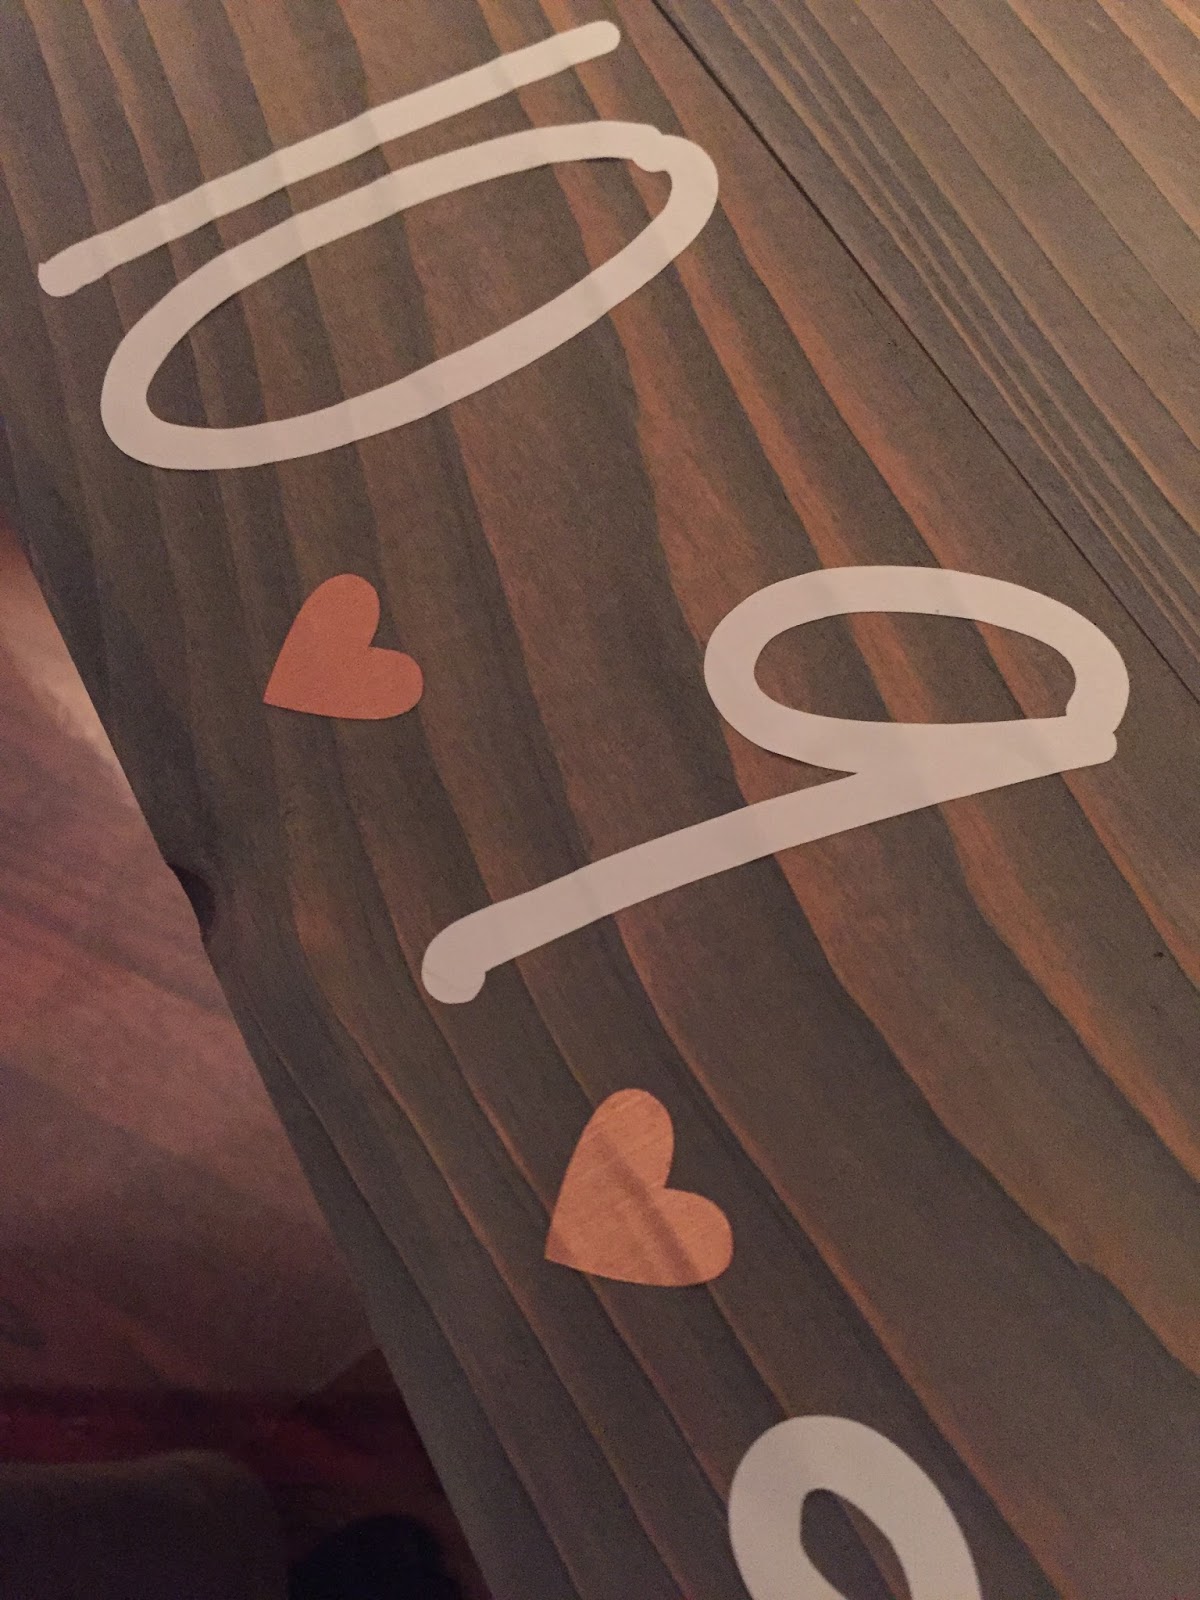
I cut all of the words out of outdoor safe vinyl in white and pink and carefully applied them with transfer tape to the sign.

If you are looking for some pretty script fonts, I really love the bundles from HungreyJpeg. Their current Smashing September Bundle has over 45 fonts for only $29!

In the end I was very happy with how the sign turned out. And now we have a fun wedding memento as well.

Wednesday, June 28, 2017

Wedding Favor Tags

Last fall when we were planning our wedding, we struggled to find a wedding favor that made sense. We didn't want to give our guests something they would just throw away. A few ideas we tossed around were seed packets, koozies and something edible.

So my mom volunteered to make (A LOT) of her homemade fudge. (Basically she was baking for the 5 days leading up to the wedding - THANK YOU MOM!!)

Another big thank you goes out to my aunt who helped package all the fudge in gift bags.

We used pink cellophane bags, I found on Amazon, tied with ribbon and included a tag I created.


I created the tag design on my computer based off of some ideas I found on Pinterest. I used the phrase Love is Sweet and included the message 'Thank you for making our day complete'. And added our names and the wedding date.

I found the tag shape in Design Space, and cut the tags from left over pink paper I used for our invitations. Then I printed the message on white cardstock and glued it to the pink tag.


We displayed the favors in metal trays on a table near the door. I also created a sign to go along side the favors, using the same Love is Sweet design and some of our engagement photos. After the wedding, we gave the frame to my mother in law as a wedding memento.


I think the fudge was a hit! We noticed many guests eating their treats at the wedding!

Wednesday, February 8, 2017

DIY Rustic Wedding Invitations

When Michael and I picked a barn for our wedding venue, we knew right away that our theme would be rustic. We agreed upon accents of lace, mason jars, pumpkins and other fall outdoor elements like hay bales.

I knew I would design and hand make our invitations, not only to save money but because I LOVE to craft!


After spending hours on Pinterest for inspiration, I knew I needed burlap, lace and some ribbon for a pop of color. I found burlap paper at Hobby Lobby and spools of scalloped lace trim that would be perfect. Finding the perfect rose gold ribbon, to match the bridesmaids dresses, was a challenge. My local craft store Gary's Art & Crafts, carries 1000s of ribbons so thankfully I found the perfect shade there.


I designed the invitation wording on my computer and printed and cut the design on white card stock. I chose a simple rectangular shape with beveled edges.

I cut the burlap to 5" x 7" to fit into a standard A7 envelope. I cut strips of the lace and ribbon and layered those over the center of the burlap, adhering it with tape (which would be hidden with the white card stock).

I decided to make things more complicated and cut our names from rose vinyl and then used transfer tape to center on the white card stock. (I wish I had my Heidi Swapp Minc machine back then because it would have made things so much easier!)


When I put the invitation into the envelope I felt it was missing something, so I cut envelope liners with a scalloped edge using my Cricut.

Since I had to make 62 invitations, I put together the invitations assembly style over the course of a few weeks. This made things move smoothly and not feel like a HUGE undertaking.

I created a postcard for our RSVPs and printed it through Vistaprint. We decided on postcard cards to save money on postage and I was able to print 100 of them for $20.


Lastly, I designed a quick map with directions to include in the invitation since our wedding was kind of off the beaten path and in an unfamiliar city. I just printed the maps on light pink card stock and used a vinyl heart sticker to mark the location.


The final total cost on our invitations was $200 including postage!


Saturday, July 9, 2016

Will You Be My Bridesmaid?

The first craft I started on after we got engaged was a way to ask my besties to be a part of our special day!

I knew I wanted to do something more than just a text or call, so I decided to write them a note asking them to be in the bridal party.

I bought a pack of craft paper cards from Hobby Lobby. (I thought these would make nice 'Thank You' cards as well.) I design the 'Will You Be Mys' in Adobe Illustrator, then uploaded the files as svgs into Cricut Design Space. I used the brushed gold Cricut Vinyl for the Bridesmaid/man and Maid of Honor text, and regular black, white and pink vinyl for the rest.


I searched on Pinterest to find a cute saying or poem for the card and came across this one, which fit perfectly.
I need...
something old,
something new,
something borrowed,
something blue,
but most importantly...
I need you!
I layed the words out in Illustrator and printed on white cardstock then trimmed to fit inside the card.

 
On the inside bottom of the card I wrote a personal message to each of my friends asking them to stand by me on my wedding day.

I was so excited to receive their responses of YES! I couldn't ask for 3 better people to share this special day with me.


Tuesday, July 5, 2016

How To Make a Pallet Sign

Wow! Things have been busy! 2016 started off amazing, with our engagement!
I have been busy crafting up a storm for the wedding but I wanted to take a minute to share my How-To Pallet Sign we used for our engagement photos for our Save the Date cards.

First, we made our own pallet sign using cedar that was 4” tall and 1” thick. I knew the sign would have 4 lines of text, so the finished pallet was about 16” x 16”. We secured the 4 pieces of wood together with glue and 2 vertical pieces of wood on the back.


I wanted to sign to coordinate with our wedding colors (rose pink & grey) so I stained the pallet a medium grey. I used a grey craft paint and diluted it with water, then using a cloth I rubbed the stain onto the pallet. This allows the wood grain to show through. 


I used my Cricut to cut the words out of white permanent adhesive vinyl. Then I used transfer tape to adhere the words onto the pallet. (I used some rose pink vinyl for the hearts!)


The sign was perfect for our engagement photos! Our photographer, Jennifer with Just Be PhotoJennic, is AMAZING and I absolutely love how our pictures came out.

Only 96 more days until we are #SKOOTingDownTheAisle!