Wednesday, August 30, 2017

Wedding Pallet Sign


For our wedding last year, I wanted to create something to let people know the day of agenda, but I didn't want to make programs that people would end up throwing away.

I also wanted to create a sign to put near the entrance so people would know they were in the right place for our wedding.

So, I decided to create a large pallet sign to solve both of these needs.

Using the same idea as the small pallet sign I made for our engagement photos, I had my dad build a large sign using 4" cedar boards. The final sign ended up being 7 boards tall.

We used grey stain to paint the sign to keep it consistent with our wedding colors.

Based on the size I created my design. I knew I wanted to include times for the ceremony, dinner, dancing, cake and fireworks.

I put our initials at the top followed by lyrics from our 1st dance song. And to fill the remaining space I used a cute lovebird graphic.

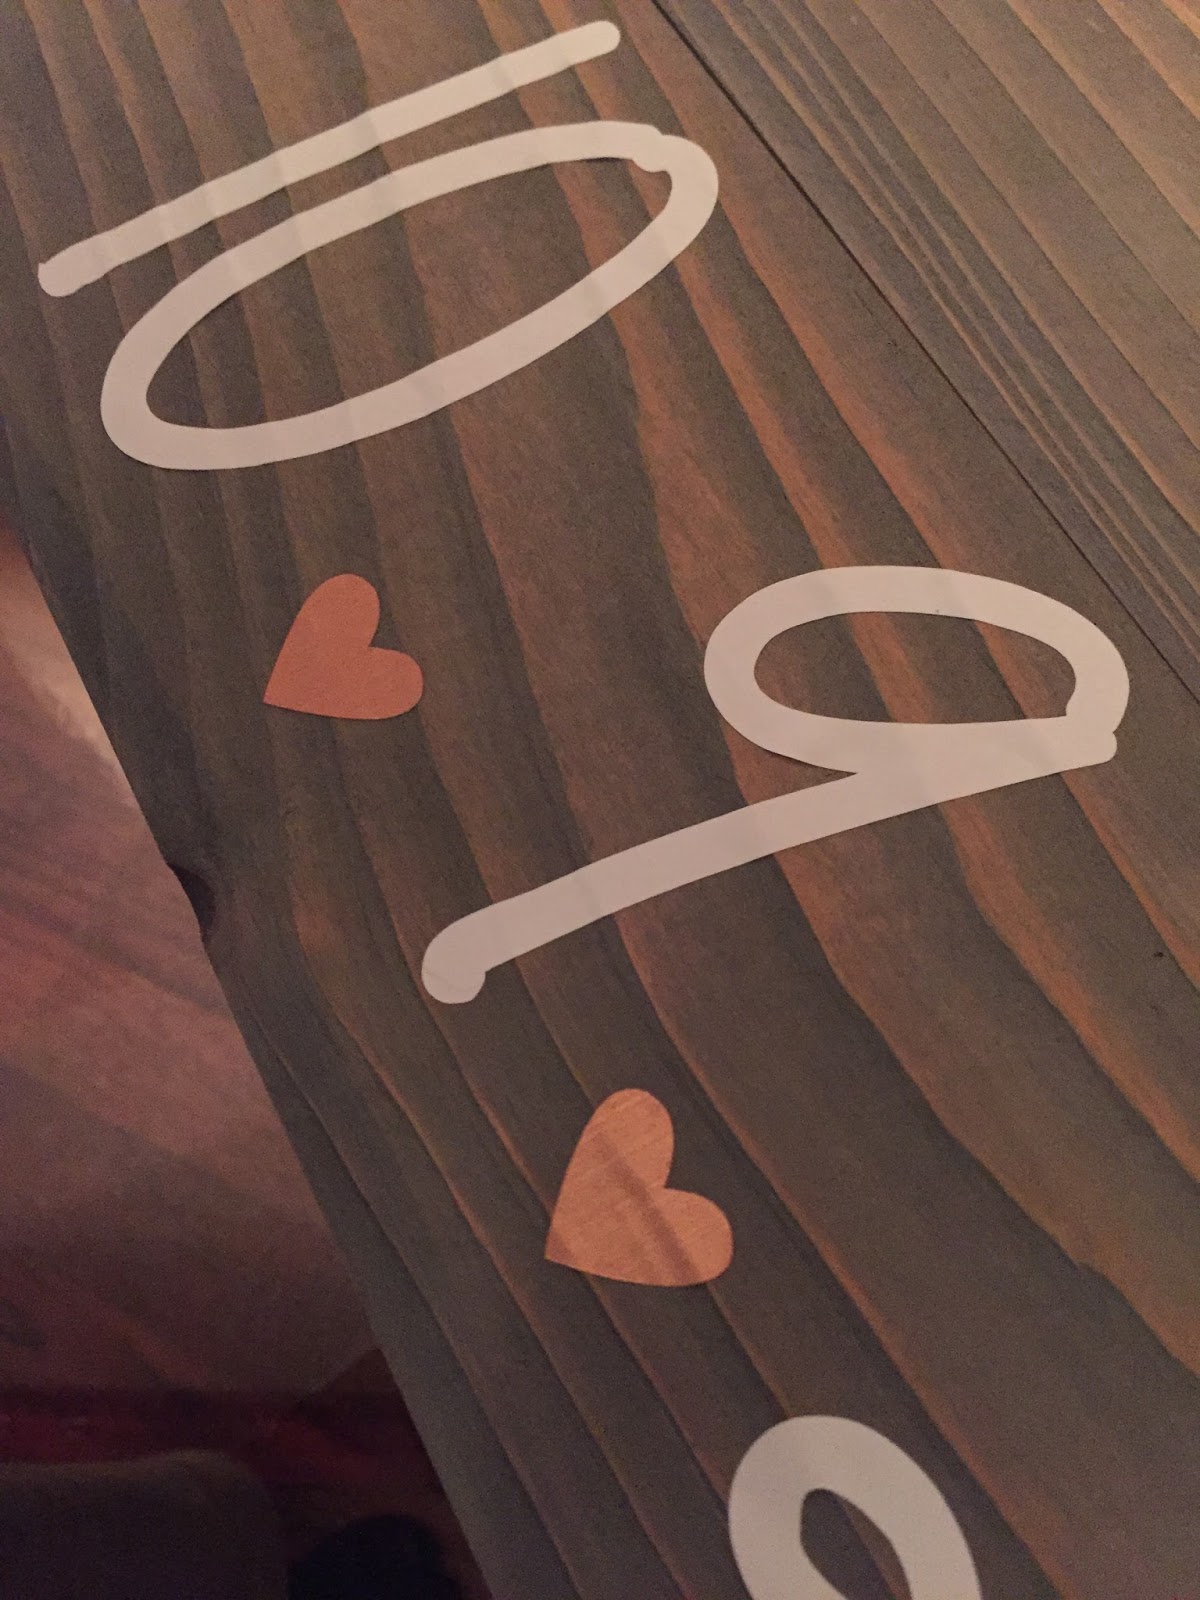
I cut all of the words out of outdoor safe vinyl in white and pink and carefully applied them with transfer tape to the sign.

If you are looking for some pretty script fonts, I really love the bundles from HungreyJpeg. Their current Smashing September Bundle has over 45 fonts for only $29!

In the end I was very happy with how the sign turned out. And now we have a fun wedding memento as well.

Tuesday, August 15, 2017

How I Use My Erin Condren Life Planner

Back in high school and college I was an avid planner user. Being able to keep track of assignments and events helped me stay organized and on top of things. But after graduating and heading into the job world, I wasn't sure I needed a planner.

Since starting my own blog and Etsy shop I noticed I was feeling frazzled and overwhelmed with tasks and remembering things. I read a blog from a fellow crafter, Jennifer McGuire, about the Erin Condren Life Planner and I decided to order the Hardbound Vertical Life Planner.


I really liked how the vertical planner had 3 sections per day. That way I could keep my personal and business tasks in the same place but still separate.


And for only $35, the hardbound planner is 18 for months! I thought this was a good deal for an Erin Condren beginner. She also offers a spiral bound planner which I now have my eye on!

I am still getting the feel for the layout, and deciding what items to track, but overall I definitely feel more organized. I can open my planner before bed and make sure I've paid the necessary bills, filled my Etsy orders, or just keep track of blog or social media ideas. (And yes I like to include what TV shows I want to watch!)


I'm a simple planner and use basically pens and stamps. I am really liking the Pilot FriXion Pens. They erase clean, write very smooth and come in plenty of colors.

I use MFT Planner Basics stamps for my headers and I use some of the icons as needed. I've experimented with several inks and had many bleed through. Right now I am liking a chalk pigment ink by Archival. I've tried several pigments inks (and dye inks) like the versa fine and found they bleed through. 

I keep all my stamps and pens in a Happy Planner planner bag I found at Hobby Lobby.


For me it helps to make planning fun with these accessories. I know there are 100,000s of stickers and planner kits out there as well, but for now I plan on keeping things simple. 

Thanks for taking the time to read how I used my Erin Condren Planner!

If you are interested in the Erin Condren Planners, please use my referral link to save $10 off your first purchase!

Wednesday, June 28, 2017

Wedding Favor Tags

Last fall when we were planning our wedding, we struggled to find a wedding favor that made sense. We didn't want to give our guests something they would just throw away. A few ideas we tossed around were seed packets, koozies and something edible.

So my mom volunteered to make (A LOT) of her homemade fudge. (Basically she was baking for the 5 days leading up to the wedding - THANK YOU MOM!!)

Another big thank you goes out to my aunt who helped package all the fudge in gift bags.

We used pink cellophane bags, I found on Amazon, tied with ribbon and included a tag I created.


I created the tag design on my computer based off of some ideas I found on Pinterest. I used the phrase Love is Sweet and included the message 'Thank you for making our day complete'. And added our names and the wedding date.

I found the tag shape in Design Space, and cut the tags from left over pink paper I used for our invitations. Then I printed the message on white cardstock and glued it to the pink tag.


We displayed the favors in metal trays on a table near the door. I also created a sign to go along side the favors, using the same Love is Sweet design and some of our engagement photos. After the wedding, we gave the frame to my mother in law as a wedding memento.


I think the fudge was a hit! We noticed many guests eating their treats at the wedding!

Thursday, June 15, 2017

Old Window Transformation

When we purchased our fixer upper 7 years ago, we replaced all the old wooden windows with new vinyl single-hung windows. Most of the old windows had broken glass, but kept one that was still in good condition for a craft project.

I had originally painted the window blue and then it sat in the garage for years. When I finally got around to looking at it, I hated the blue. I decided this would be a good project to try chalk paint on, so I purchased some porcelain white chalk paint from Michaels.


I had never used chalk paint before, but I love the matte finish it creates. I had to re-sand the window to help remove the blue paint, and then I painted 3 coats of the white chalk paint. After letting the last coat dry for 24 hours, I sealed the chalk paint with clear wax. You simply brush on the wax, wait a few minutes then buff off with a cotton rag, it couldn't be easier.

I searched on Pinterest for old window projects and found one that someone added a shelf to. I loved the idea of more space to display decor, so we cut a shelf  and some brackets and I painted those white.


Since the glass was so old (probably over 50 years), it wasn't clear and that bothered me, so I decided to paint the glass with chalkboard paint.


I painted 3 coats of chalkboard paint, and sanded before the final coat and this resulted in a smooth surface. Make sure to prime the chalkboard with chalk before using.

To dress up the window we cut 4 mullions to create the look of a 6 panel window. I used hot glue to adhere them to the window.


I am in LOVE with the final result. I added some vintage estate sale finds, cotton garland and my Nora Fleming Bud Vase, and viola!


Monday, February 27, 2017

MFT Color Challenge 64

For this week's color challenge I decided to make my grandmother a birthday card!


I created the card out of Blue Yonder MFT card stock, (this could be my favorite blue card stock ever, it's the perfect soft blue.)

After looking at the colors in the challenge, I randomly decide to die cut a bird and bird cage on my Cricut. I glued the layers together onto white card stock and used a glue dot to raise the bird off the card.

I started flipping through my stamp sentiments and found this 'a little birdie told me' from the Crazy Talk set by Stampers Anonymous and thought that was perfect!

While I was embossing the sentiment with white heat embossing powder, I accidentally got some of the versamark ink on the black card stock. To cover that up I used my Spectrum Noir Sparkle Pen to create glitter black card stock.

Hopefully my grandma enjoys her handmade card!

Wednesday, February 8, 2017

DIY Rustic Wedding Invitations

When Michael and I picked a barn for our wedding venue, we knew right away that our theme would be rustic. We agreed upon accents of lace, mason jars, pumpkins and other fall outdoor elements like hay bales.

I knew I would design and hand make our invitations, not only to save money but because I LOVE to craft!


After spending hours on Pinterest for inspiration, I knew I needed burlap, lace and some ribbon for a pop of color. I found burlap paper at Hobby Lobby and spools of scalloped lace trim that would be perfect. Finding the perfect rose gold ribbon, to match the bridesmaids dresses, was a challenge. My local craft store Gary's Art & Crafts, carries 1000s of ribbons so thankfully I found the perfect shade there.


I designed the invitation wording on my computer and printed and cut the design on white card stock. I chose a simple rectangular shape with beveled edges.

I cut the burlap to 5" x 7" to fit into a standard A7 envelope. I cut strips of the lace and ribbon and layered those over the center of the burlap, adhering it with tape (which would be hidden with the white card stock).

I decided to make things more complicated and cut our names from rose vinyl and then used transfer tape to center on the white card stock. (I wish I had my Heidi Swapp Minc machine back then because it would have made things so much easier!)


When I put the invitation into the envelope I felt it was missing something, so I cut envelope liners with a scalloped edge using my Cricut.

Since I had to make 62 invitations, I put together the invitations assembly style over the course of a few weeks. This made things move smoothly and not feel like a HUGE undertaking.

I created a postcard for our RSVPs and printed it through Vistaprint. We decided on postcard cards to save money on postage and I was able to print 100 of them for $20.


Lastly, I designed a quick map with directions to include in the invitation since our wedding was kind of off the beaten path and in an unfamiliar city. I just printed the maps on light pink card stock and used a vinyl heart sticker to mark the location.


The final total cost on our invitations was $200 including postage!


Sunday, February 5, 2017

MFT Challenge Card 2 in 1

MFTWCS318 & MFT Color Challenge #62

This week I decided to try 2 card challenges in 1! The My Favorite Things Sketch Challenge 318 and The My Favorite Things Color Challenge #62.

You can never have enough birthday cards so I decided that's what I would make. I used My Favorite Things Spearmint and Gravel Gray 100lb cardstock as well as some white and blue cardstock.

I created the top folding card out of spearmint, then created a white heat embossed back ground on the white card stock using stars from my Hero Arts Operation Write Home stamp set.


For the birthday sentiment, I printed the design on a laser printer and used my Heidi Swapp Minc to foil it in teal.

I cut some stars out of my blue cardstock and colored them with my Spectrum Noir Sparkle Pen for some extra shine.


On the inside, I silver heat embossed 'Hope your day is AWESOME' from my Paper Smooches Fun and Flirty set. I also silver heat embossed some stars on the envelopment to match.

I am really enjoying these weekly challenges, it's a great way to get inspired and create more cards! 


Sunday, January 29, 2017

My First Challenge Card

MFTWSC317

To get me moving on my 2017 goal of making my own cards, I decided to try my first MFT Sketch Challenge! This challenge provides a basic layout to inspire your design.

I decided to incorporate my newest stamp set - You Bake Me Happy by My Favorite Things. This set is features some absolutely adorable baking and kitchen related sentiments!


I used My Favorite Things Wild Cherry cardstock for the card and created a border with some Valentine's themed paper. Then I cut a scallop edge border out of white card stock. 

I used my Cricut to cut two different cupcakes, both from the Sweet Treats cartridge. I assembled the cupcakes and used some craft foam to give them dimension off the card. I used my Spectrum Noir Sparkle Pen to color the cherry and heart toppings to give them some shimmer.


Lastly, I white heat embossed the sentiment You Bake Me Happy. I think it turned out so cute and I can't wait to send it to someone!

Monday, January 9, 2017

2017 Goals

Andrews Bald, North Carolina

Wow! Where did 2016 go?
So many wonderful things happened in 2016, the biggest being I got married! I was so busy and I know I didn't blog very much. So I wanted to start 2017 off with my goals for the year.

Here are my 2017 Goals:
  1. Blog, Blog, Blog! I have so much wedding DIY to share with you! From invitations to wedding day signage and favors. Stay tuned for these blogs in the coming weeks.
  2. Make all my own cards. Now that I have more time I want to make my own cards - for birthday, congratulations and more! I have found a wonderful DIY card enthusiast, Jennifer McGuire Ink, and have fallen in love with card making. I hope to share some of the cards I make throughout the year on the blog too!
  3. Slow down and enjoy! 2016 was so busy with wedding planning and crafting that it went by too fast! This year I want to focus on the day to day joys and make sure I take the time to enjoy them.
  4. Travel. We honeymooned in Natchez, MS and Gatlinburg, TN and I caught the traveling bug! It was so gorgeous. We enjoyed trying new restaurants, hiking and so much more. I can't wait to plan our next vacation. 

Saturday, July 9, 2016

Will You Be My Bridesmaid?

The first craft I started on after we got engaged was a way to ask my besties to be a part of our special day!

I knew I wanted to do something more than just a text or call, so I decided to write them a note asking them to be in the bridal party.

I bought a pack of craft paper cards from Hobby Lobby. (I thought these would make nice 'Thank You' cards as well.) I design the 'Will You Be Mys' in Adobe Illustrator, then uploaded the files as svgs into Cricut Design Space. I used the brushed gold Cricut Vinyl for the Bridesmaid/man and Maid of Honor text, and regular black, white and pink vinyl for the rest.


I searched on Pinterest to find a cute saying or poem for the card and came across this one, which fit perfectly.
I need...
something old,
something new,
something borrowed,
something blue,
but most importantly...
I need you!
I layed the words out in Illustrator and printed on white cardstock then trimmed to fit inside the card.

 
On the inside bottom of the card I wrote a personal message to each of my friends asking them to stand by me on my wedding day.

I was so excited to receive their responses of YES! I couldn't ask for 3 better people to share this special day with me.


Tuesday, July 5, 2016

How To Make a Pallet Sign

Wow! Things have been busy! 2016 started off amazing, with our engagement!
I have been busy crafting up a storm for the wedding but I wanted to take a minute to share my How-To Pallet Sign we used for our engagement photos for our Save the Date cards.

First, we made our own pallet sign using cedar that was 4” tall and 1” thick. I knew the sign would have 4 lines of text, so the finished pallet was about 16” x 16”. We secured the 4 pieces of wood together with glue and 2 vertical pieces of wood on the back.


I wanted to sign to coordinate with our wedding colors (rose pink & grey) so I stained the pallet a medium grey. I used a grey craft paint and diluted it with water, then using a cloth I rubbed the stain onto the pallet. This allows the wood grain to show through. 


I used my Cricut to cut the words out of white permanent adhesive vinyl. Then I used transfer tape to adhere the words onto the pallet. (I used some rose pink vinyl for the hearts!)


The sign was perfect for our engagement photos! Our photographer, Jennifer with Just Be PhotoJennic, is AMAZING and I absolutely love how our pictures came out.

Only 96 more days until we are #SKOOTingDownTheAisle!


Friday, November 13, 2015

Craft Update

Wow! Where has the time gone? I wanted to do a quick update on some of the craft projects I have made recently.

Gold Leaf Dachshund Art


As a Dachshund parent, anything with a dachshund silhouette is a must have! When I saw this project on Lovely Indeed, I knew I had the perfect place for this picture in my living room. 

It was easy to create the dachshund stencil using my Cricut. Applying the gold leaf adhesive and the leafing was a bit tricky. I had trouble getting even coverage, but after a few applications I think my golden doxie looks great!

Home Sweet Home Word Art


When I was putting up my fall decor I realized the wall above my entertainment center was bare. I decided to create some word art that would coordinate with any season's decor. 

I have been buying/hoarding cheap frames whenever I find a good clearance deal, and I found this white frame at Kirklands for $3 (or less!). It had an image of a leaf in it, but I removed that and used burlap for the background. Then I cut out 'Home Sweet Home' in white vinyl (mirrored) and placed it on the inside of the glass. I used some burlap ribbon to hang the frame from a fancy 3m Command hook. I love how this word art turned out and how it looks with my fall decor!

Caterpillar Birthday Bag


I don't know about you, but I always have Holiday themed wrapping paper or gift bags, but never any birthday ones. So when we needed a bag for a Twins' Caterpillar themed party, I knew my trusty Cricut could turn this plain Jane bag into a fun birthday bag in just minutes.


Tuesday, September 2, 2014

Fall Word Art


Happy Fall! I know we technically have a few weeks until the official start of fall but I am definitively ready for FALL!

I got a head start on my fall decorating this Labor Day weekend. I've been seeing lots of subway word art on Pinterest so I decided to create my own. I had a large space above my new credenza that I wanted to fill.

I started with some left over plywood cut to 36"w x 21"h. I sanded then painted the plywood a brownish orange.


After the first coat, I thought the paint was a little too bright. For the second coat of paint I mixed some off white with the orange and did some dry brushing of the brown and white to give the background some texture.

Next I needed to create the word layout. I used Adobe Illustrator to create the font/word layout.


I used Illustrator so I could save the art as a .SVG file which I could upload into Cricut Design Space.

I decided to cut the words out of beige indoor vinyl, I calculated I would need 3 sheets of 12" x 24" vinyl.


I tried to keep the layout as close to the final design as I could, but because of the size of the vinyl I had to move words around to fit. So after I cut all the words out and weeded the vinyl, I placed everything on the plywood to see how it would look.


Then I started the semi tedious process of using transfer tape to place the words onto the plywood. I used a ruler to keep a consistent border on the edges and to keep the words straight.


After all the words were placed, I attached the burlap ribbon to the back of the plywood. I used (a lot) of staples around the edge of the ribbon to make sure it would be strong enough to hold the plywood.


I purchased a bronze hook from Hobby Lobby to hang the word art from. I used anchors to secure the hook to the wall since it would be supporting heavy plywood.


I think the word art looks great above my credenza! This project was relatively inexpensive, since I had the left over plywood my only costs were the paint (59 cents a bottle), the vinyl (1.99 per sheet), the burlap (50% off at Hobby Lobby and I still have plenty left for decorating), and the hook (50% off at Hobby Lobby). Grand total - less than $15!

I plan on making a new word art for each season!

Monday, July 7, 2014

4th of July Wreath

I hope everyone had a Happy and Safe 4th of July!

I just wanted to share my Patriotic Deco Mesh Wreath. I've had it up since Memorial Day and plan on keep it up until Labor Day! It's perfect for the summer and all the Patriotic Holidays in between.


Supplies I used:

  • 15" Work Wreath (I couldn't find red or blue ones, so I bought a purple and spray painted it blue.)
  • 21" Silver, Red and Blue striped deco mesh (1 Roll, you will have leftovers.)
  • 10" Red Deco Mesh (Not even half of 1 Roll, so there will be plenty left over.)
  • 10" Blue Deco Mesh (Not even half of 1 Roll, so there will be plenty left over.)
  • Star Decorations (I had purchased 2 packs for 25 cents after Christmas, so I painted some white and silver and kept the others red.)
  • Bethlehem Lights (battery operated with a timer) I love these lights, I use them on all my wreaths.
For my wreath I used the 21" stripe deco mesh, starting on the inner circle of the wreath, then moving to the outer circle. I used about 9 inches of mesh for each "poof".

Then I added some 10" Red and Blue mesh to add a little more color to the wreath.

I glued the stars randomly on the wreath using hot glue. And then I added the lights to finish the wreath.


I used my left over 21" Silver, Red and Blue deco mesh to make some garland across my porch.  I also strung the globe lights with the garland for the 4th of July weekend.


Friday, June 27, 2014

First Craft using Cricut Design Space

Part of my craft room organization included creating a binder for all my recipe print outs. I had no idea I had so many recipe prints, copies or tears (from magazines)! I used binder sheet protectors and dividers to neatly organize all the papers.

I put the binder on my book case and it was just a boring black binder. It needed a label and I had just the tool to create it - My Cricut Explore!

I opened up Cricut Design Space and found a fun font for my Recipes label.


I love the new Cricut Design Space! It is so easy to use, very similar to the Adobe Creative Suite. It was easy to select the font, center it and size my image. I can't wait to create more complex designs using the Space! Since I'm a designer, I love that I will be able to upload my own custom designs!

I found a scrap of Red Easyweed Vinyl, and cut out my creation. (I already "weeded" the design before I thought to take a picture. But it was easier than Easy!)


I used transfer tape to remove the vinyl from its backing and positioned it on the binder spine.


Transfer tape is a must have! It makes vinyl crafting a breeze! 


While my first Cricut Explore/Design Space craft wasn't so impressive, it reinforced my decision of getting a new Cricut. I can already tell that crafting with the new Design Space is limitless!